Dear Mr. Chris (My Colleague From SFAS),
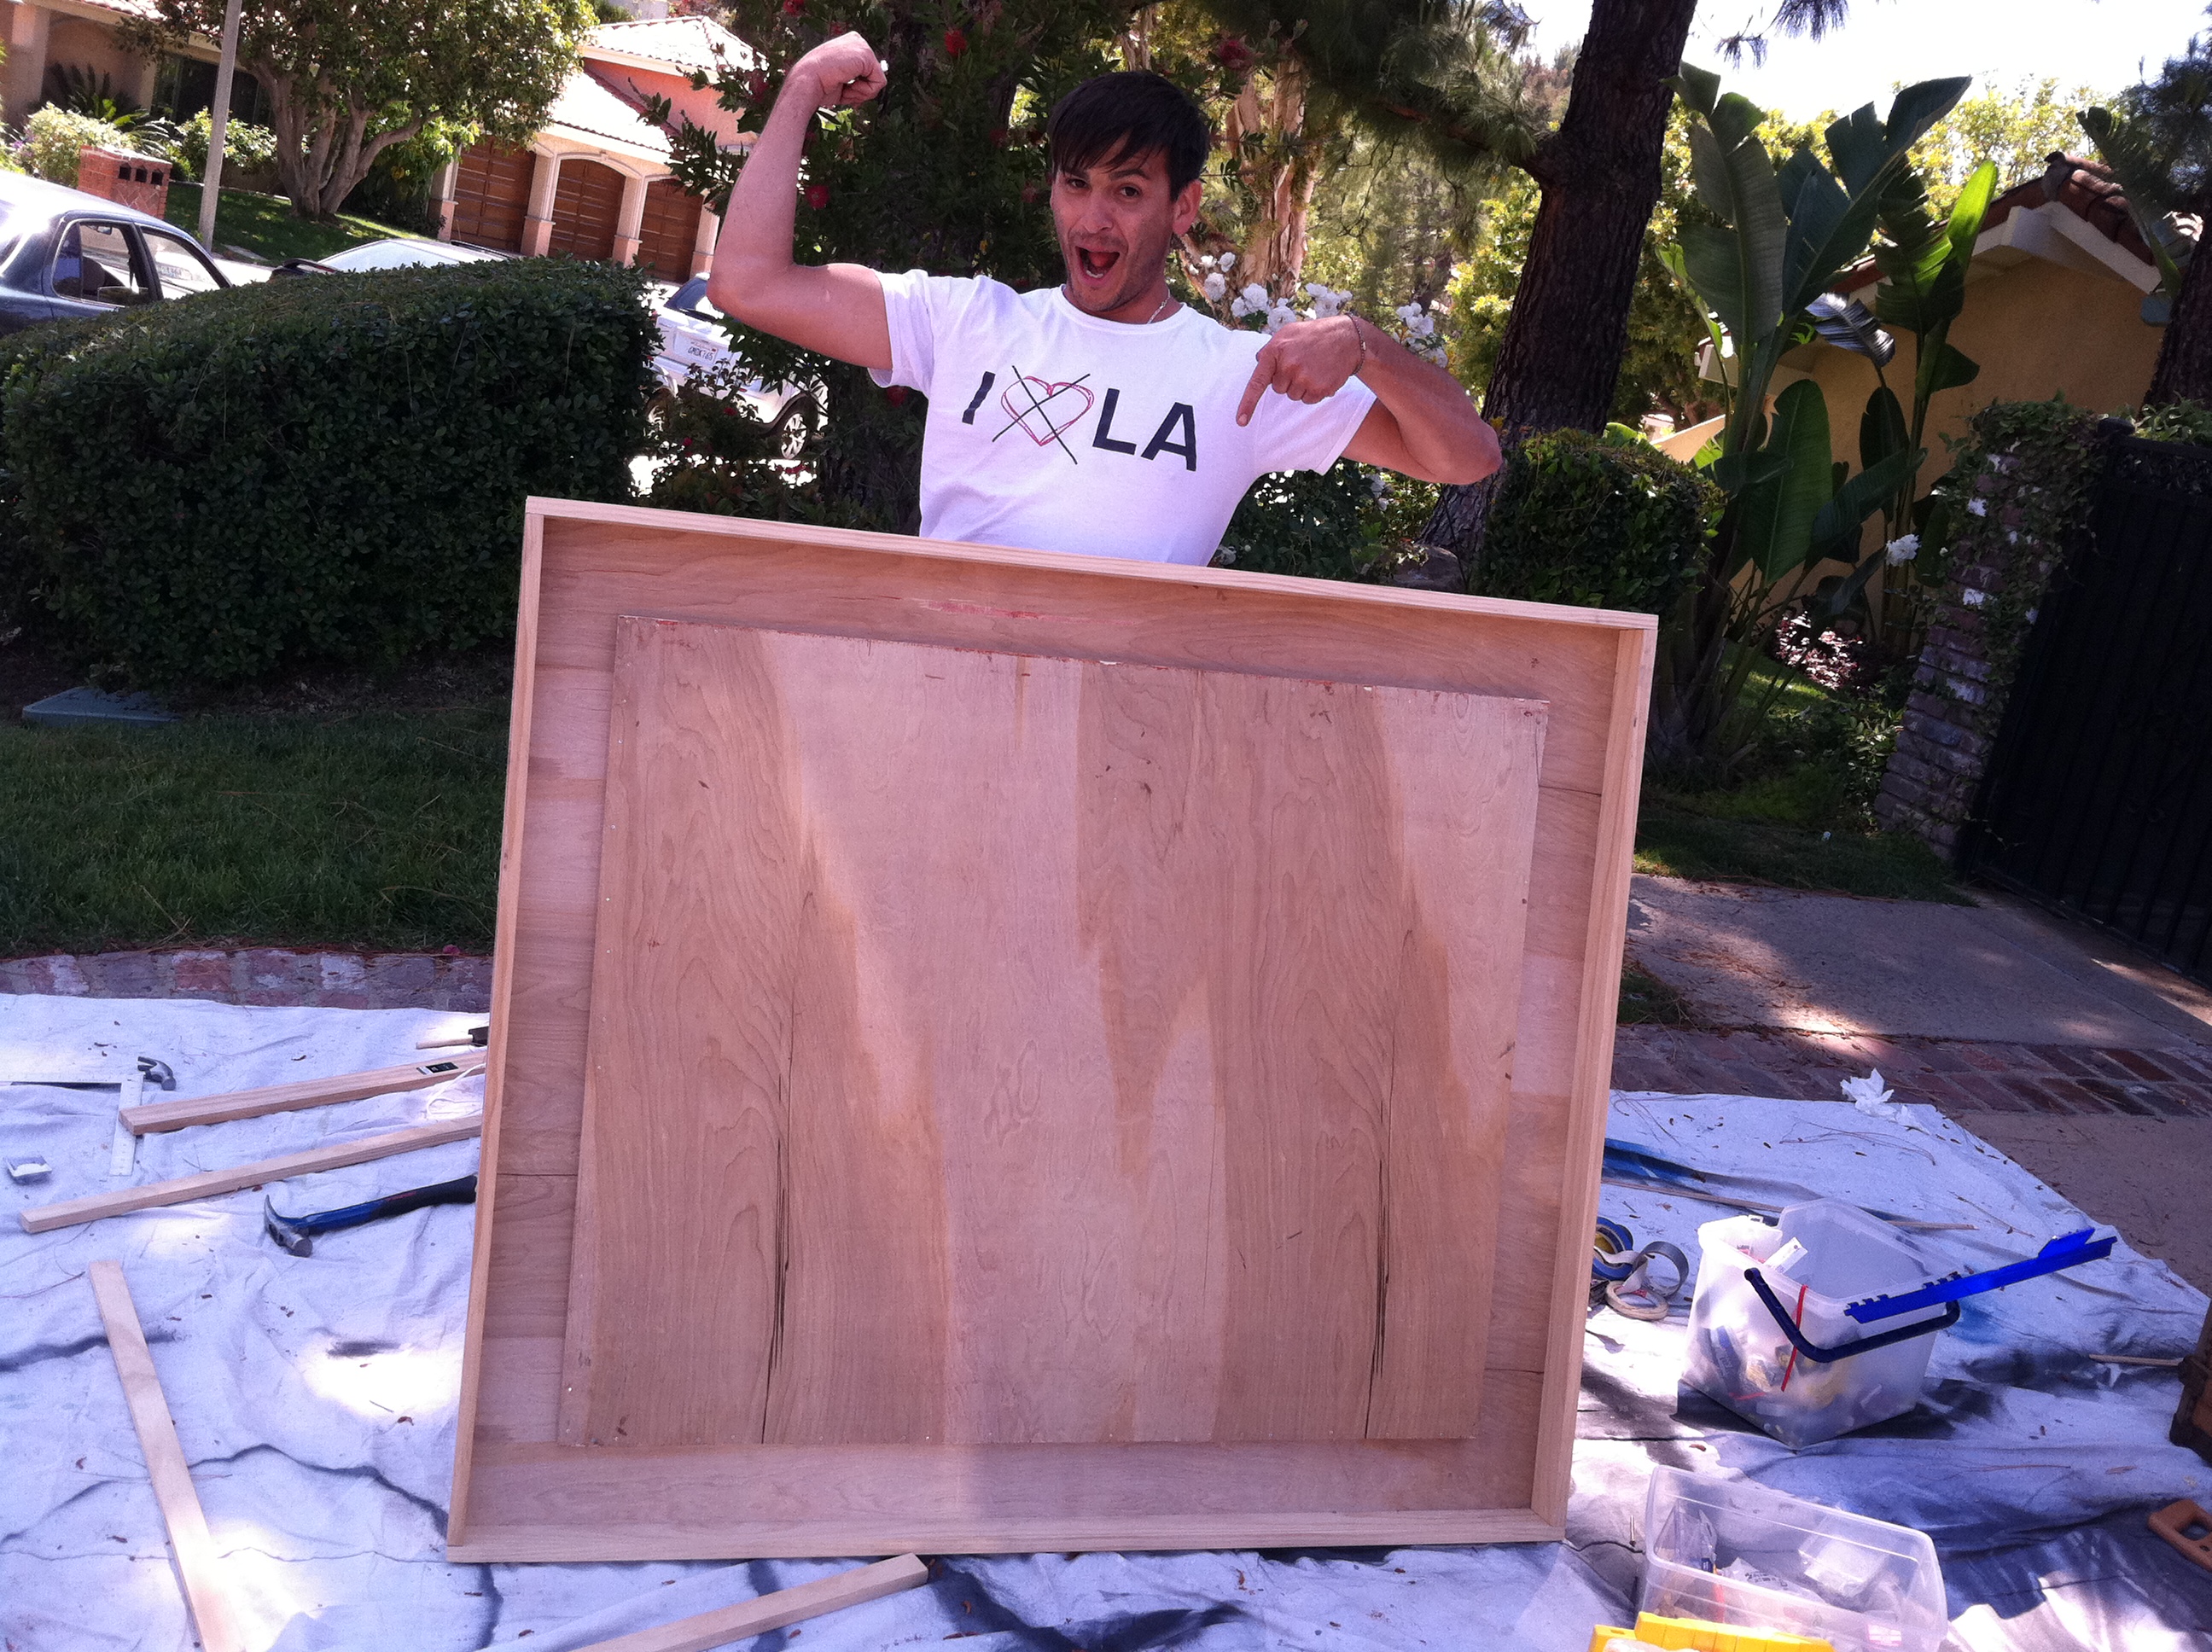
You’re awesome, you can make anything, and that’s why we’re friends. You recently made this fun shadowbox for a recent episode and it turned out, like, totally cool.
Here’s how you make it:
1. Make a frame using 1″ x 2″ pine. Nail or screw together using wood glue.
2. Cut two pieces of plywood, one the size of the artwork to be mounted the other 16″ larger in both directions so that there is space around the image. This will leave an 8″ border on all sides (you can choose whatever border size you want).
3. Glue, nail, or screw the smaller piece of plywood to the larger one so that there is equal spacing on all sides.
4. Stain or paint the wood and allow it to dry.
5. Apply hanging hardware to back of frame.
6. Adhere the artwork to the smaller piece of plywood with spray glue or finishing nails.
7. Hang on wall and admire forever.
This is how ours turned out. Super pretty, right?


